
Friday, May 31, 2013
Gaillardia
Most of the flowers in my garden are there because they attract beneficial insects (Zinnia, Marigold, Nasturtium), they attract pollinators (Homestead Verbena, Black-Eyed Susans) or because they have medicinal uses (Calendula, Echinacea). There are very few exceptions... but those are the flowers that I have planted to remind me of home and those people I love most. There are stories behind all of them... Lilacs, Forsythia, Bleeding Heart, Hydrangea... and the Gaillardia (or Blanket Flower).
 You see, the Gaillardia is maroon and gold... the school colors of Shepherd Hill Regional High School, where "Pride & Unity" is the motto. It's been more than half a lifetime since I roamed those halls, but the memories are cemented deep in my heart. I was one of the fortunate few who loved high school, and it's been so great to reconnect with so many friends on Facebook. Here's to you, fellow band fags and '91 grads. Thanks for the memories.
Thursday, May 30, 2013
Confirmation.... FINALLY!
We got into the bees today, hoping to find convincing evidence of a queen in the second hive. We saw eggs, we saw larvae. We launched an all-out search for the actual queen. And low and behold, we found her. And she was HUGE!

This time, there were three of us crammed into the half bath (you need a confined space for marking in case the queen escapes the catcher and flies off!) Lisa's job was to catch the worker bees that got caught up in the queen catcher. Then I somehow managed to hold her enough for Donna Rae to clip her wings. Then we put her in the new plunger to mark her... in red... since we now know what the official bee color of the year is! It was a much easier, calmer experience than the last comedy of errors we had trying to mark and clip!

 (Pink boots and overalls... Which picture above is the real Donna Rae?) :-)
If you are wondering why we mark and clip the queen... well, we mark her so she's easier to find. When you've got 50,000 bees in a hive it's almost impossible to find her. And the last thing you want to do is accidentally squish her. The reason I was so adamant about finding the queen is that right now, the hive is relatively small so it was never going to be easier for us. Now was the time.
As far as clipping goes, it means that when she tries to swarm, she won't be able to fly and the bees will simply congregate at the front of the hive instead of taking off. So we'll then be able to catch them and start a new hive with them. You can't STOP them from swarming, but you can keep them in your apiary instead of losing them... or you can start a NUC to help supply new beekeepers with bees...
Now that we know all is well in our hives, we can pretty much stay out of them for another two weeks, at which point we'll want to check on the NUC we started last week to see if a queen has emerged. We opened it up today and there were a lot of bees, but we didn't take any of the frames out because we didn't want to accidentally squish the queen cells.
Listen! Do you hear that? It's me, exhaling a huge sigh of relief! That second hive of ours has been nothing but drama for several months, and it's nice to know everyone is queen-right... and all 3 of our queens are marked and clipped. That's never happened before!

This time, there were three of us crammed into the half bath (you need a confined space for marking in case the queen escapes the catcher and flies off!) Lisa's job was to catch the worker bees that got caught up in the queen catcher. Then I somehow managed to hold her enough for Donna Rae to clip her wings. Then we put her in the new plunger to mark her... in red... since we now know what the official bee color of the year is! It was a much easier, calmer experience than the last comedy of errors we had trying to mark and clip!


If you are wondering why we mark and clip the queen... well, we mark her so she's easier to find. When you've got 50,000 bees in a hive it's almost impossible to find her. And the last thing you want to do is accidentally squish her. The reason I was so adamant about finding the queen is that right now, the hive is relatively small so it was never going to be easier for us. Now was the time.
As far as clipping goes, it means that when she tries to swarm, she won't be able to fly and the bees will simply congregate at the front of the hive instead of taking off. So we'll then be able to catch them and start a new hive with them. You can't STOP them from swarming, but you can keep them in your apiary instead of losing them... or you can start a NUC to help supply new beekeepers with bees...
Now that we know all is well in our hives, we can pretty much stay out of them for another two weeks, at which point we'll want to check on the NUC we started last week to see if a queen has emerged. We opened it up today and there were a lot of bees, but we didn't take any of the frames out because we didn't want to accidentally squish the queen cells.
Listen! Do you hear that? It's me, exhaling a huge sigh of relief! That second hive of ours has been nothing but drama for several months, and it's nice to know everyone is queen-right... and all 3 of our queens are marked and clipped. That's never happened before!
Sunday, May 26, 2013
A Walk Around the Homefront - May 2013


Tuesday, May 21, 2013
Inspected!

The Nuc we started last month is doing well. The queen is laying with a good pattern and the next step is to contact the Coordinator of the Nuc Program for the Guild to see who is next on the list. They will then bring their own box and we'll transfer the frames to it. The next day, they'll be able to take them home! (It's a 2-day process to make sure all of the forager bees return to the hive at night, when we'll close them in.) However, we want to be sure our own hives are both queen-right before we do this, so we're going to hold off a week (more on that later).
Our original hive had some swarm cells WITH LARVAE in them, which means they want to swarm. It's not a big deal, because that queen's wings are clipped, so she can't actually fly off with half the hive. She'll do a belly flop off the front of the hive and all the bees will congregate around her, at which point we'll go out and sweep them into a new Nuc. However, we took the frames that had the swarm cells and started another Nuc box with them. If all goes ideally, a month from now, those queen cells should be hatched, fertilized, and beginning to lay... and we can sell THAT Nuc to another new beekeeper.
In the hive that's had all the drama this spring, we saw some cells that had two eggs in them, which is a sign of a laying worker. However, we also saw enough capped brood in a good pattern to believe that there is indeed a queen. We'll go back in next week and hopefully have a better idea (which is exactly what I said LAST week...)
Monday, May 20, 2013
Proverbs 31
For the past several weeks, my ladies' group at church has been reading through "A Year of Biblical Womanhood" which culminated Saturday evening in a talk given by the author, Rachel Held Evans. In the book, she highlights several "Eshet Chayil" (translated from Hebrew as 'woman of valor' even though most Bibles use terms such as 'virtuous woman' (KJV), 'worthy woman' (ASV), 'excellent wife' (NASB), 'wife of noble character' (NIV), and 'virtuous wife' (NKJV)) including Ruth, Deborah, Mary, Esther and Tamar, to name a few. In a nutshell, she contends that Proverbs 31 is not written as a to-do
list for women, and mentions that in the Jewish faith, it is the men who
memorize the chapter in order to sing as a praise to their wives during
the Sabbath.
In her talk Saturday evening, Rachel was speaking of Ruth and pointed out how she was quite the opposite of the Proverbs 31 woman because Ruth was poor, a foreigner, a widow, and childless. In my mind, however, I was thinking how SIMILAR they were. Both are strong women who take initiative and work hard to provide food for their loved ones. Neither 'eats the bread of idleness'. Both were respected and known as 'excellent' women.
As we see in the Bible, it doesn't matter whether a 'woman of valor' is married, single, Jewish, foreign, a mother, childless, rich, or poor. I believe what matters is her ability to 'git er done', so to speak. When the chips are down, these women of valor know how to take matters into their own hands and do what they have to do. As my dad would say, these women are 'survivors'.
Some have come to hate the Proverbs 31 woman, believing it is unrealistic for a woman to do everything that is described. It will probably come as no surprise to readers of this blog that I am not one of them. I aspire to be a Proverbs 31 woman, an Eshet Chayil who can do what needs to be done. Some 'liberated' women feel that Proverbs 31 is a passage too frequently used to justify the notion that a woman's place is at home. Personally, I feel that only a woman who possesses the skills described in Proverbs 31 is truly liberated.
It is liberating to know that even if push comes to shove, I am able to feed my family healthy, nutritious meals. I am not dependent upon the grocery stores which only carry a 3-day supply of food, if that.
It is liberating to know how to make investment decisions, and wisely use those proceeds instead of being enslaved in debt like the vast majority of my peers.
It is liberating to be able to share with others, whether it's money, time, or talents.
It is liberating to not be afraid of the future, knowing that provisions have been made... whether it's food, housing, clothing, or finances.
It is liberating to have skills that I can use to earn money for my household if ever the need arises.
It is liberating to be in a place where I can 'laugh at the days to come.'
The females from the Bible profiled in "A Year of Biblical Womanhood" all found themselves in unexpected places. Widowed. Raped. Poverty stricken. Pregnant. Alone. It's a pretty safe bet that every one of us will eventually find ourselves in an equally unexpected place. I don't know about you, but when the time comes, I intend to wear the title of 'Eshet Chayil' instead of 'helpless fool.'
Rather than dismissing Proverbs 31 as an unattainable ideal, I think women (and men) ought to heed its wisdom. Learn practical skills. Practice entrepreneurship. Provide for your family. Become financially fit. Create. Prepare for the future. Git 'er done.
Saturday, May 18, 2013
Bee Update
I have been negligent in updating about the bees. Which is not a good thing, considering this blog is supposed to be my on-line bee journal! Last I posted, we'd discovered one of our hives didn't have a queen. We went back in a week later, and still didn't see any eggs. Nor did we see any queen cells. My mentor suggested waiting another week to combine the Nuc back into the hive, because a) the weather hadn't been good so there might have been a queen but she couldn't take her mating flight, and b) the reason they weren't making queen cells was because there WAS a queen (see reason a!).
So, we put another frame of eggs in just to be safe, giving them another opportunity to raise a queen if they needed one. Then we closed everything up and decided to wait another week.
This past Monday, we checked the hives again. The Nuc had lots of eggs and still had room to grow, so we didn't have to worry about doing anything there. They haven't been taking a lot of the sugar water, either. Our original hive was going gangbusters... lots of activity and eggs and larvae.
And, in the 'queenless' hive... I knew something was different as soon as we opened it up. Instead of the typical roar we'd been hearing, we heard the peaceful buzz of bees who didn't care we were there (this has ALWAYS been our docile hive, except for the past month!) And sure enough, we had a whole frame of eggs! No larvae, so the queen had just started laying. We are optimistic that it was a queen and not a laying worker for three reasons: 1) the buzzing. In most queen-right hives, especially this one, the bees just go about their business... unless there is no queen, and then the work themselves into a tizzy when you open up the hive. 2) There was only a single egg in every cell, and 3) the pattern was perfect, meaning they weren't laid helter-skelter. Laying workers are notorious for popping multiple eggs in each cell, and bouncing around the frame. Needless to say, I was greatly relieved!
We will go back in next week to confirm that they aren't drone cells (ie, laying worker) and also because the Inspector will be here. Assuming he doesn't find anything out of the ordinary, we will be able to sell our Nuc to a new beekeeper in the Guild and get them started up. We were hoping to be able to make a second Nuc from the other hive, but after a month of no eggs, the numbers are really down and it's just not strong enough at this point to make another Nuc. But after a year of costing us money, it'll be nice to recoup a very small portion of our expenses!
This morning I was able to attend a workshop where we made swarm buckets and also got some pieces to make a bee vac using a Nuc box body. I am hoping they will come in very handy (not that we've gotten any swarm calls this year... but I'm into beekeeping for the long haul!)
Friday, May 17, 2013
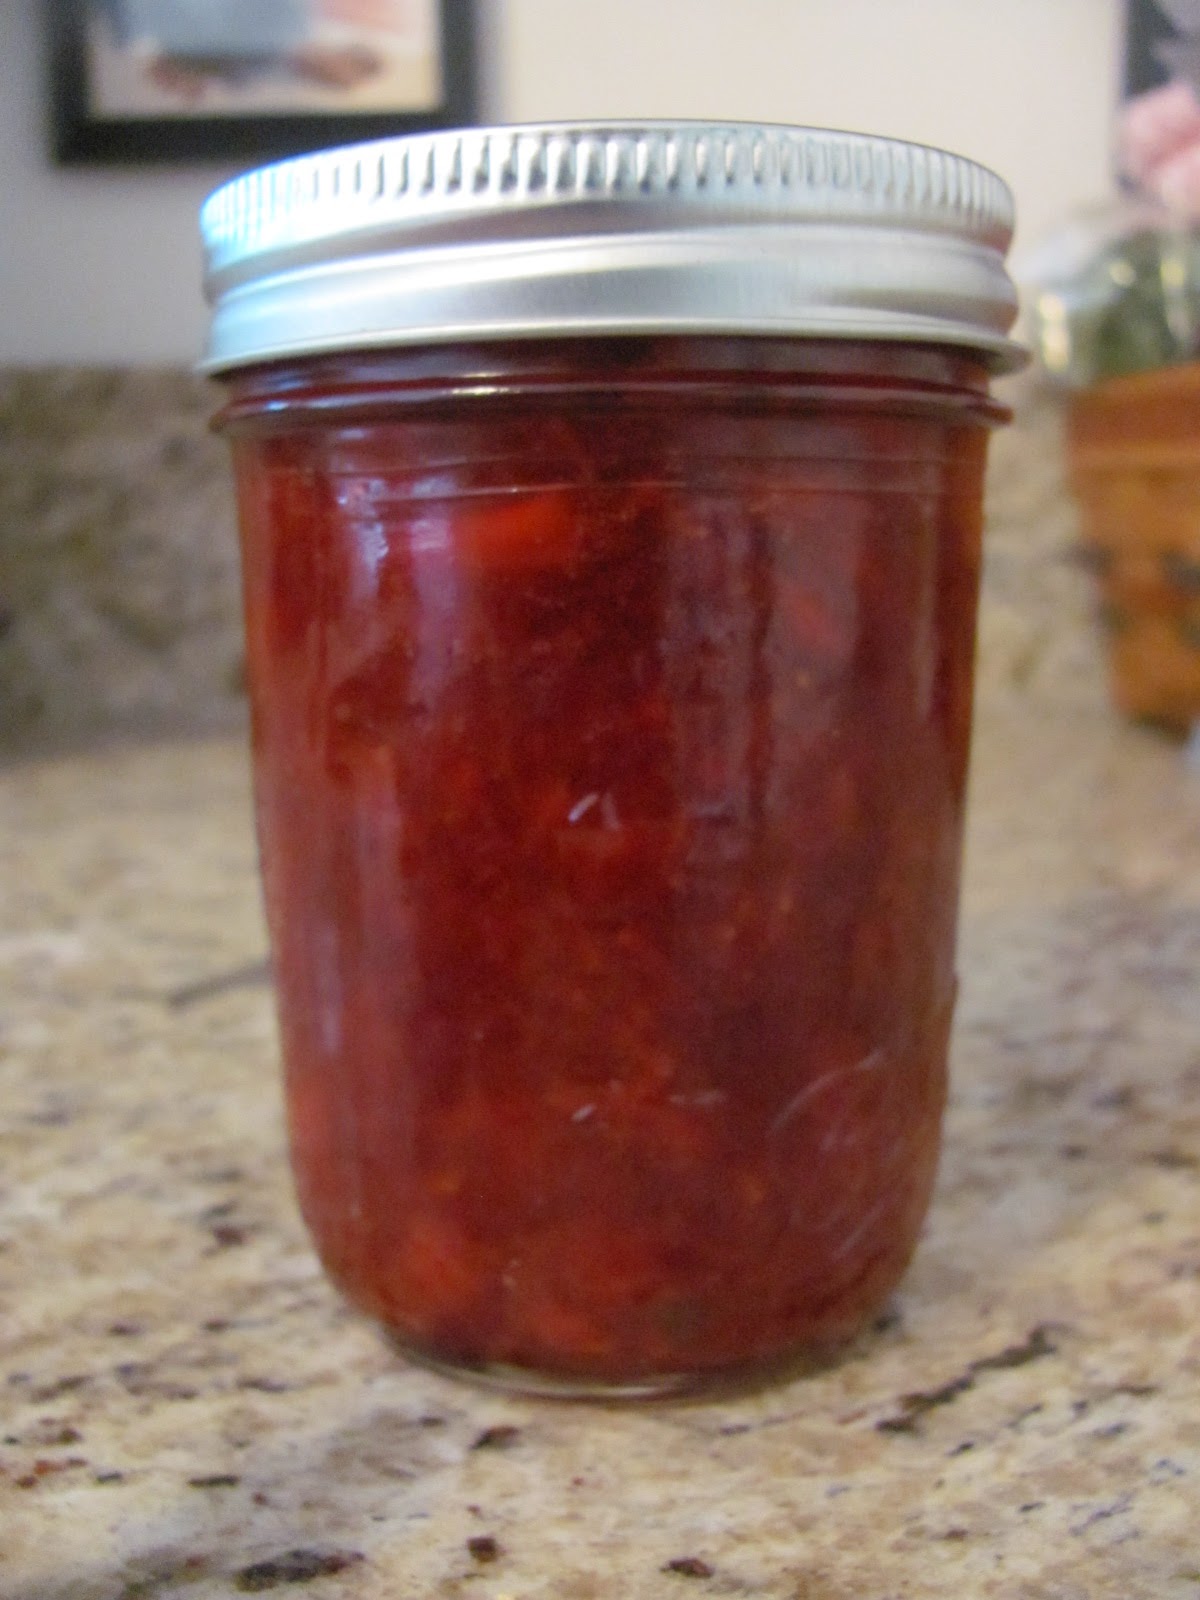
Strawberry Lemon Balm Jam
Last year, I made some amazing Strawberry Anise Hyssop Jam which inspired me to start using herbs in my jams and jellies. So today, I finally had the time (and berries) to try a batch of Strawberry Lemon Balm Jam. The process is the same for the Anise Hyssop, so if you want to make that, feel free (I only use a dozen large leaves of the Anise Hyssop)! The recipe is adapted from Ball, using less than half the sugar. It's still plenty sweet but the flavor of the berries really shines. It makes about 7 half-pint jars.
First, I went out and picked 2 dozen large lemon balm leaves. I washed them and gave them a whirl since I already had the spinner out, anyway.
 Then, I cut them in half. Which meant I had 48 pieces of leaves. It's helpful to remember this number. You'll see why later.
 Wash and hull about 8 cups of strawberries. These beauties are Camarosa's that I picked at a local farm (Hickory Ridge) for $1.25/lb. Can't beat that, baby!
 Mash them down to about 5 cups.
 Add the berries and the lemon balm into a large stock pot, along with 1/4 c lemon juice and 2 tsp calcium water (I use Pomona's Pectin and the calcium water makes it gel. If you are using traditional pectin, you want to add 3 TBL of the low-sugar kind at this point.)
 Bring it all to a boil. Then add 3 cups of sugar and 2 tsp Pomona's Pectin, stirring well, and bringing it back up to a boil.
 Skim off foam if you are so inclined.
 Remove from heat and start picking out the pieces of lemon balm. (This is where it comes in handy to know how many pieces are in there.) This time off the heat also gives the jam time to start cooling a bit, which reduces the likelihood of 'floating fruit' in your processed jars.
 When you've got all the lemon balm out, fill jelly jars and leave 1/4" headspace. Watch carefully as you're pouring it in if you weren't able to get out all the leaf pieces. This is your last chance to retrieve them. Process in a boiling water bath for 10 minutes, and enjoy!
First, I went out and picked 2 dozen large lemon balm leaves. I washed them and gave them a whirl since I already had the spinner out, anyway.


Friday, May 10, 2013
Strawberries!
It's been a cool and rainy spring, which didn't help the strawberries to ripen. This time last year, we'd been picking for weeks. So when I saw the weather forecast for today (sunny, low 80s), I decided I needed to go and pick some berries.
I headed over to Vaughan's Farm Produce and picked four different kinds of berries. The Albion's are HUGE and I figured the kids would love eating them. The Chandlers are one of the most popular variety grown here in Hampton Roads. The Sweet Charlie's are my favorite for eating (so sweet!), and the Festivals are a firm berry great for canning.
 After all was said and done, I came home with almost 17 pounds of them! Because I'm still working on cleaning out the freezer, most of these will be dehydrated. It takes a little time to prep them, but it's well worth it in the middle of winter when you have tasty berries for muffins, scones, and the morning oatmeal.
First, I washed them and sent them for a ride in the salad spinner to get as much water off of them as possible.
 I use a pairing knife to take the tops off.
 Then, I slice them with an egg slicer. I own three of them (one for me and one for each kid). It's much quicker than doing it with a knife, and this ensures that they are equal thickness so they dry at the same rate.


Lay them on the dehydrator tray. You want them as close together as possible, but in a single layer.
 The time it takes to dry them will vary. I usually start with 8 hours and up it if I need to. I store them in glass jars (wide-mouth are easier to get into.)
I headed over to Vaughan's Farm Produce and picked four different kinds of berries. The Albion's are HUGE and I figured the kids would love eating them. The Chandlers are one of the most popular variety grown here in Hampton Roads. The Sweet Charlie's are my favorite for eating (so sweet!), and the Festivals are a firm berry great for canning.

First, I washed them and sent them for a ride in the salad spinner to get as much water off of them as possible.


Lay them on the dehydrator tray. You want them as close together as possible, but in a single layer.

Monday, May 6, 2013
Granola
It's been awhile since I've made granola. I have a recipe that we love, from the book "Make the Bread, Buy the Butter." But about 6 months ago, I decided to try a new recipe and it was a failure. Nobody liked it. And so it sat in the container, staring at me every time I opened the cupboard. I couldn't bring myself to make our usual recipe while that was sitting there. Finally, I made several batches of granola cookies which the family DID eat, and used up the cursed batch of icky granola.
And then we were out of maple syrup, so I had to wait until I next saw my folks to get more. (No, I couldn't have BOUGHT more. Because when you're spoiled like I am, you get homemade maple syrup from your Dad. For free.)
After a record-setting maple syrup run, our stock is replenished and I am back in the granola business. I was all set to make another batch of the usual when I realized that there's a recipe in "The Homemade Pantry" I wanted to try.
I will admit that I halved it, just in case we didn't enjoy it. I already learned that lesson the hard way!
So, I added the oats and coconut and almonds and sunflower seeds (and wheat germ instead of sesame seeds) into my largest mixing bowl and stirred it all together.
 Then, I combined the oil and maple syrup and vanilla and almond extract and added that in, stirring to combine well.
 You can see that even though I cut the recipe in half, I still had enough to cover two baking sheets.
 After baking at250 for 90 minutes, and stirring every 30 minutes, we had a nice batch of tasty granola. With that being said, however, I still prefer our original recipe... probably because that doesn't require stirring, so it's much easier to just pop it in the oven and forget about it until it's done... and also because I like it when all the ingredients stick together in chunks, and this recipe didn't do that. It could be because I didn't include the optional Lyle's Golden Syrup, but I'm not searching all over creation for it, either.
I'm not retyping either recipe, but here are links if you want them.
If you want a clumpy granola great for snacking on, try this one from "Make the Bread, Buy the Butter":
http://www.cookiemadness.net/2012/12/granola-for-teacher-gifts-and-make-the-bread-buy-the-butter-review/
If you want a granola that's more for eating with milk as a cereal, try this one from "The Homemade Pantry":
http://www.eatingfromthegroundup.com/2009/12/the-new-granola/
Make both and do a taste test. Let me know what you think!
And then we were out of maple syrup, so I had to wait until I next saw my folks to get more. (No, I couldn't have BOUGHT more. Because when you're spoiled like I am, you get homemade maple syrup from your Dad. For free.)
After a record-setting maple syrup run, our stock is replenished and I am back in the granola business. I was all set to make another batch of the usual when I realized that there's a recipe in "The Homemade Pantry" I wanted to try.
I will admit that I halved it, just in case we didn't enjoy it. I already learned that lesson the hard way!
So, I added the oats and coconut and almonds and sunflower seeds (and wheat germ instead of sesame seeds) into my largest mixing bowl and stirred it all together.


I'm not retyping either recipe, but here are links if you want them.
If you want a clumpy granola great for snacking on, try this one from "Make the Bread, Buy the Butter":
http://www.cookiemadness.net/2012/12/granola-for-teacher-gifts-and-make-the-bread-buy-the-butter-review/
If you want a granola that's more for eating with milk as a cereal, try this one from "The Homemade Pantry":
http://www.eatingfromthegroundup.com/2009/12/the-new-granola/
Make both and do a taste test. Let me know what you think!
Friday, May 3, 2013
Baking in a Wood-Fired Oven
Our homesteading group is made up of some pretty great people. And many of those pretty great people have some pretty great talents. And some of those people take the time to share those talents with the rest of us, which is what makes a great group even better.
This morning I was lucky enough to go to Jackie's breadmaking workshop and see how an outside wood-fired oven works.
We started with learning how to make the dough to the right consistency and learning how to gently knead it.
 While our loaves were rising, we learned about the oven itself and all the prep work that has to happen before it's time to bake. Then, we scored our loaves and put them in the oven.
 After about 20 minutes, we had beautiful loaves.

 And we were able to taste-test a wood-fired baked loaf and one loaf baked in the indoor oven. They were both amazing. But the crust of the wood-fired loaf was so crispy and delicious, it was definitely my favorite. I even thought the butter was super good... come to find out it was from Food Lion!!!

This morning I was lucky enough to go to Jackie's breadmaking workshop and see how an outside wood-fired oven works.
We started with learning how to make the dough to the right consistency and learning how to gently knead it.


Wednesday, May 1, 2013
The Homemade Pantry
Last year, I was so excited to add a copy of "The Homemade Pantry" to my collection. It is a gorgeous book and addresses a topic I am so passionate about... reducing processed foods and making homemade versions of them. Plus the author, Alana Chernila, is a fellow Masshole. What's not to love?

I confess that I have not cooked from it the way I wanted, because I didn't make the time. It called to me from the bookshelf every time I walked by. I knew that several of my fellow homesteaders had copies, so I decided to ask if anyone would be interested in cooking through it with me. Turns out, a lot of people were. Some had it, some ordered it, some decided to use recipes from the authors blog (found HERE).
So starting this week, we will each pick a recipe from the "Chapter of the Week" and make it. Then we'll share our experiences via blog or the Virginia Urban Homesteaders Facebook Page. The first chapter is Dairy, and tonight my neighbor Cathy came over to help me make mozarella cheese.
I previously made it once before, using a cheese kit from New England Cheesemaking (and where Ms. Chernila recommends getting your supplies.) But that was awhile ago.
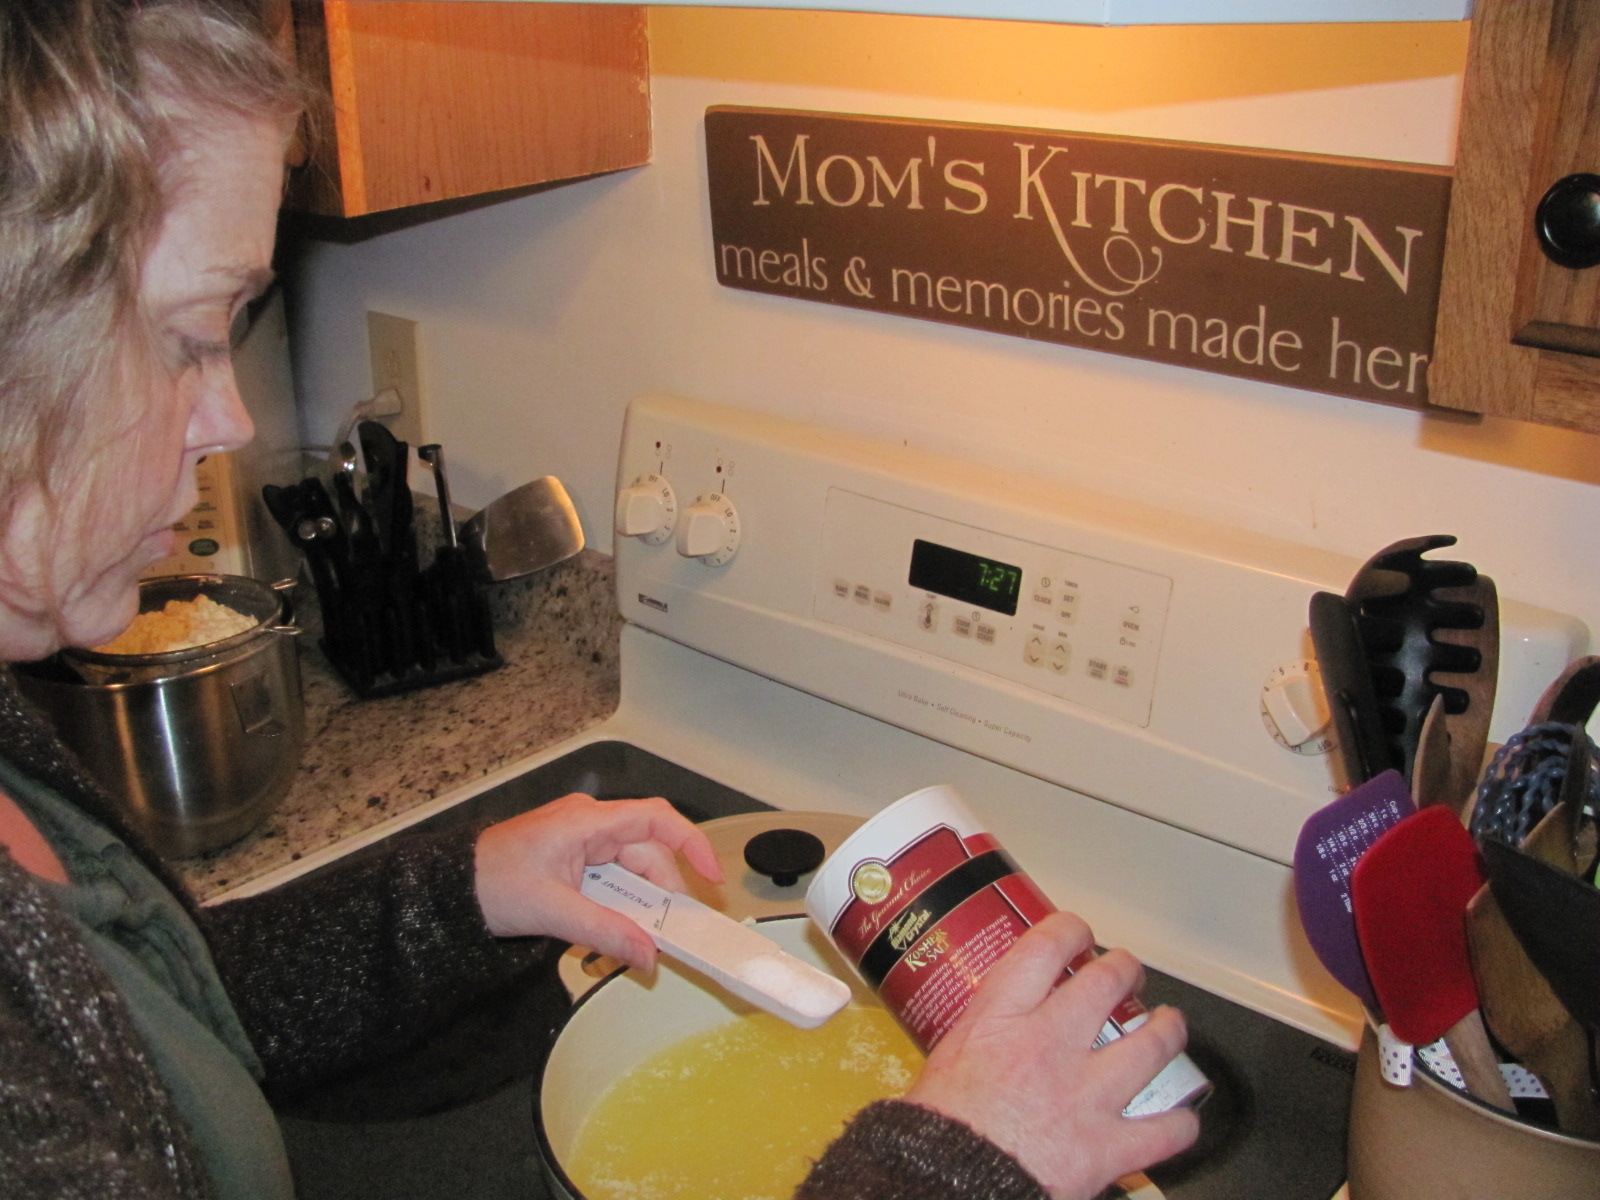
First, the necessary supplies. That's right, just FIVE ingredients: Milk, Salt, Rennet, Water, and Citric Acid. For the local peeps, Harris Teeter is the only place around that has organic milk that has not been Ultra Pasteurized. And I got the citric acid at Wine and Cake Hobbies (they frequently have Groupons).
 Pour the milk into a large cauldron and heat to 90 degrees.
 Add in the rennet combined with water, stir, and cover. After 5 minutes, the curds will have solidified. Cathy does the 'finger test' to make sure it's ready to cut.
 After heating to 110, we transferred the curds to strain out the whey.

Then, the whey gets heated to 170 and it's very important to add the salt. We love salt. We might have added even more later.
 The curds take a nice bath in the warm whey for a minute. The fun part is squeezing the liquid out, because at this point it starts to look like cheese.
 The bath is repeated several times, with stretching in between. Once the cheese stretches to about 12", you know it's ready.

We made some into balls and some into string cheese (or 'turds' as Cathy called them.)
 I am thinking tomorrow might be a Chicken Parm kind of night. Or pizza. I can't decide. Although there were many different steps involved (I'll have to make about a dozen more batches before I can memorize the process), this is not rocket science. Everyone should try it at least once. If you'd like to give it a shot, here's a much more detailed explanation: http://www.eatingfromthegroundup.com/2010/01/30-minute-mozzarella/
I confess that I have not cooked from it the way I wanted, because I didn't make the time. It called to me from the bookshelf every time I walked by. I knew that several of my fellow homesteaders had copies, so I decided to ask if anyone would be interested in cooking through it with me. Turns out, a lot of people were. Some had it, some ordered it, some decided to use recipes from the authors blog (found HERE).
So starting this week, we will each pick a recipe from the "Chapter of the Week" and make it. Then we'll share our experiences via blog or the Virginia Urban Homesteaders Facebook Page. The first chapter is Dairy, and tonight my neighbor Cathy came over to help me make mozarella cheese.
I previously made it once before, using a cheese kit from New England Cheesemaking (and where Ms. Chernila recommends getting your supplies.) But that was awhile ago.
First, the necessary supplies. That's right, just FIVE ingredients: Milk, Salt, Rennet, Water, and Citric Acid. For the local peeps, Harris Teeter is the only place around that has organic milk that has not been Ultra Pasteurized. And I got the citric acid at Wine and Cake Hobbies (they frequently have Groupons).


Then, the whey gets heated to 170 and it's very important to add the salt. We love salt. We might have added even more later.


We made some into balls and some into string cheese (or 'turds' as Cathy called them.)

Subscribe to:
Posts (Atom)