The holidays are over and that means one thing... time to get back to cooking from "Deep Run Roots". I've missed Vivian. It feels like months since PBS aired a new "Chef's Life" episode. I've had to resort to streaming earlier episodes, and I might have watched the Holiday Special more than once.
In the interest of trying to eat seasonally (which is more for Nancy and Courtney, my co-conspirators who are in Virginia, and not for me, stuck on this tropical island where nothing I want to eat is ever in season except maybe mangoes, avocados, and coconuts) we decided to tackle the rice chapter. To be completely honest, it's not a chapter that spoke to me, although I was happy to see that 'Scarlett's Chicken and Rice' was included, since that's a dish that has come up several times on the show.
Nancy chose the "Crispy Ginger Rice with Leeks, Shiitakes, and a Fried Egg" because she loves fried eggs. Me, not so much. Courtney chose the "Country Ham with Celery Creamed Rice." Being that there's no country ham to be found on this island, better her than me. And what did I go with? Happily, one look at the rice pudding recipe confirmed I had all the ingredients (well, except the rice, but more on that later) and so that's what I chose.
I like rice pudding. But I never make it, because every recipe under the sun starts out with cold, cooked white rice. Which is a problem for me, because I never have white rice in the house, never mind cooked and cold. So I was excited to try this one, because you basically dump everything in the pot along with a half cup of UNCOOKED rice, and you're good to go. Can do.
Now, I'm no rice connoisseur, so I began by reading Vivian's recommendations. Long Grain... Carolina, Jasmine, Basmati, Uncle Ben's. In that order. Well, I knew the odds of finding Carolina rice here would be nil, so off I went to the commissary in search of Jasmine rice. On an island where most inhabitants have Filipino, Japanese, or Spanish blood, there is no shortage of that.
Y'all, my choices were a 5 pound bag or a 50 pound bag. I wanted to scream "What happened to the small 16oz packages? I only need a half a cup!" And then I wanted to cry because I just want to live where I can buy normal groceries. I've been here for over 18 months and I'm never going to adjust. I've accepted that. So I bought the 5 pound bag, sans tears, and went home to cook.
I got out a whole star anise, a cinnamon stick, a vanilla bean, and some homemade dehydrated orange peel. I should note that all of these items came to the island with me. Otherwise, I'd be in trouble. I had to fish the vanilla bean out of a half-gallon mason jar full of Bourbon that I smuggled in in a 5 gallon bucket surrounded by popcorn kernels (normally, movers won't pack anything liquid. I wasn't going to leave behind my homemade vanilla! The jars of maple syrup and honey were packed carefully in the safe. They made it just fine. Needless to say, not my first move. I'm an expert by now. But I digress...)
Into the pot it all went, and then it was just a matter of stirring. Often. For 30 minutes. This is not a recipe to attempt if your attention needs to be elsewhere. For the record, here are the Top 10 productive ways to spend this 30 minutes (stir after each), in no particular order:
1. Give the cat some fresh water.
2. Pour the 5 pound bag of rice into an air-tight container to prevent insect infestations.
3. Do the dishes. By hand. Because you don't have a dishwasher (no, I'm not bitter. Much.)
4. Refill the ice-cube trays. By hand. Because the ice machine in the fridge doesn't work and no one wants to consume unfiltered water on this island anyway.)
5. Wipe down the counters.
6. Wipe down the cupboard.
7. Discard the Christmas left-overs that are languishing in the fridge.
8. Put away all the spices that came crashing down while you were digging around trying to find the nutmeg.
9. Turn on the Roomba so at least you get clean floors out of the deal.
10. Feed your sourdough starter.
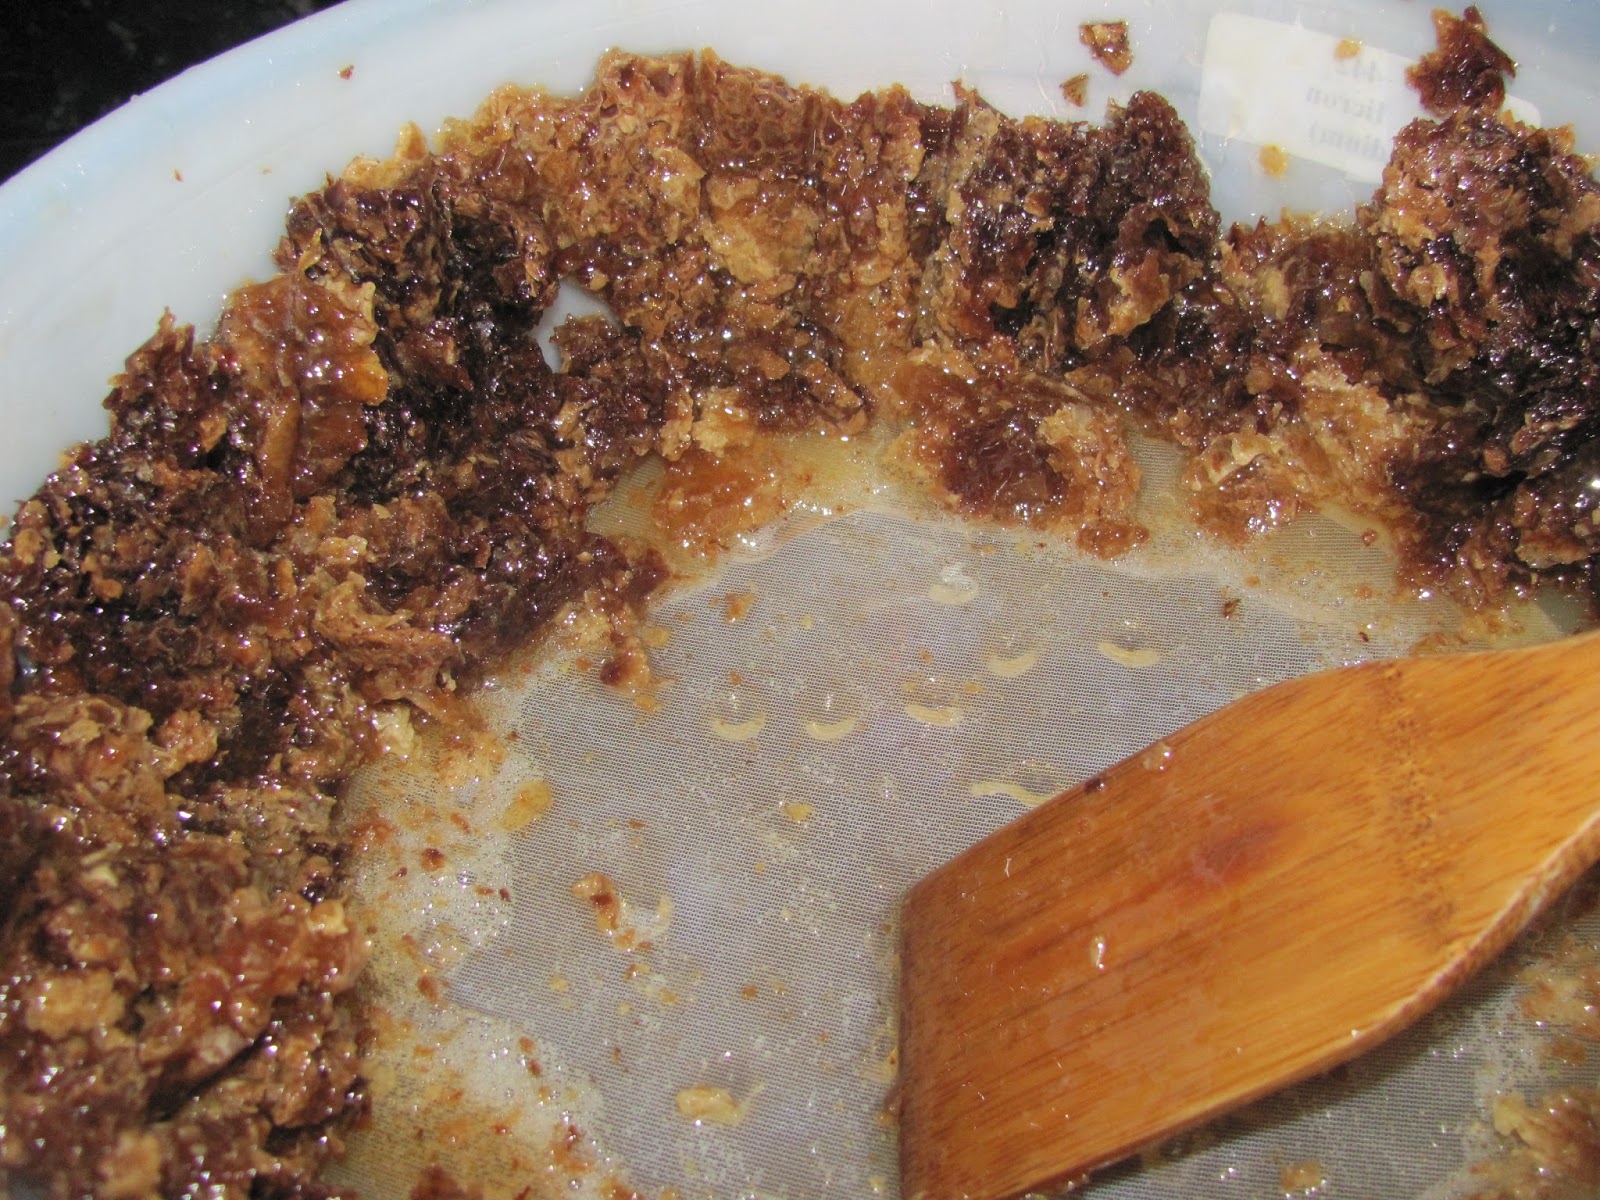
At the end of 30 minutes, your pudding will still be soupy. Mine was REALLY soupy, because despite what the dial says, my burners only have two settings: warm and scorching. So I erred on the side of caution. After 10 minutes of cooling, it had significantly thickened. And dang, this stuff is good warm.
But I put it in the fridge to serve after dinner, and it thickened even more. Joanna and I loved it cold, too. I totally disregarded the part about adding pistachios and buttermilk before serving (mostly because I've only seen liquid buttermilk on the shelf once, and that was about 3 months ago). It didn't need it. At all. A scoop of fresh whipped cream would have taken this totally over the top, but I didn't have any of that, either. I had to limit myself to 3 bites or I would have eaten the whole batch. (For the record, the other two don't like rice pudding. Their loss.)
It's so nice knowing that I can make rice pudding whenever I want, no cold, pre-cooked rice required. Which is a good thing, because I now have a lifetime supply of white rice.
Here is the recipe if you would like to try it yourself (no endorsement of Dr. Oz implied!!!)