Rosey the Riveter

Monday, April 29, 2013

A Walk Around the Homestead


It's the end of April, and I realized I never did a 'March' walk around the homestead, so I am over-do.  This week brought the first of the Knock-Out roses.  I was afraid I over-pruned, as I never know what I am doing, but the new growth came fast and furious and I am thrilled to be greeted with yellow roses at my front door.  They were my grandmother's favorites.

Both of my lilacs came back, which was exciting!  I've been told they don't grow well here, but my Bloomerang is in a pot on the deck and the Persian Lilac I rescued from the almost-dead clearance section at Lowe's is doing fine, too. 
And lo and behold, the rhubarb!!!  This is another thing that doesn't grow here in Hampton Roads, but three of my plants came back and are doing well, so I am hoping to be able to make some locavore Strawberry-Rhubarb Jam!
The herb beds are very green!  In the closest bed, from right to left, there's Borage, Oregano, Lemon Balm, Thyme, Sage, Chives, and Rosemary.  You can't see the Lemon Verbena which just started to poke it's head up (I didn't think it was going to, as technically, it's only a perennial in zones 9 and 10), the yarrow, and Slo-Bolt cilantro that I just transplanted.  In the back bed, from right to left, there's parsley, chocolate mint in containers, Horehound, German Chamomile, and Lavender.  You can't see the Stevia which came back (again, it's supposed to be a zone 9-10 perennial), and the sunflowers that will eventually shade the chamomile and protect it from the hot sun.
 Here we have a mish-mash... a stray onion, some radishes that are going to seed, a carrot I left from the winter for the early Swallowtails, some carrot seedlings, another Lemon Balm, lettuce, and peas.  There's a lot of stuff here you can't see, either, including Calendula and more sunflowers to protect the spinach from the heat.  The unpruned grapevine grows along the back fence... and I transplanted from Hubbard Squash that popped up in the compost pile to grow on the trellis.
On the left, there's a ton of garlic and scallions.  The front right is some potatoes, an echinacea, more lettuce, and peas in the background... there are peppers in here, too, along with more calendula, zinnia, and nasturtium.  On this trellis will grow some watermelon volunteers that sprouted from the one plant I grew last year in that blue bin.  I transplanted them into the garden and we'll see how they grow.  I had NO intentions of growing any vining plants whatsoever, but so it goes.
It's a peach!  There are only a few, but it's only the second year I've had the tree, so that's really all it can hold.
The Homestead Verbena is holding its own, despite being over-run last summer with Bermuda Grass.  It's much more of a problem this year than it has been, but I am declaring an early war. 

It's been a much cooler spring than last year... we just picked our first strawberries on Saturday... so things are slower going, but that's ok.  I'd rather have cool than hot.

Sunday, April 28, 2013

More Bee Stuff

With the next few days forecast to be rainy, we decided today was the day we needed to get back in the hives and see what was going on.

First, we checked the Nuc that we made last time, and saw eggs and larvae.  We knew a queen had successfully hatched.  Since there were only 5 frames, we decided to find her so we could clip her wings and mark her.  Easier said than done. 

Finally, I spotted her on an empty frame (what was she doing there?) and nabbed her with the Queen Catcher.
We decided to take her inside to the bathroom... the smallest enclosed space we could think of.  We had a heck of a time trying to hold her still so we could clip the wings, but after many failed attempts we finally did it... and then marked her with a bright green dot to boot, so she'd be easy to spot.
Now, each year has a different color (to make it easier to tell how old the queen is)... and I'm pretty sure this isn't a green year... but we grabbed the brightest marker Lisa had.  Not looking forward to doing THAT again!

The first hive was fine... the second one (which had swarmed earlier) didn't appear to have a queen.  So, for lack of a better idea, we stole a frame of eggs and put it in, hoping they will raise another one.  If not, we can always combine the Nuc back in with the hive and split it again later. 

Beekeeping... always a challenge with no real 'right' way.  It could drive an analytical person like me crazy.

But we have a new Nuc queen, and she's marked and clipped.  Hallelujah.


Cilantro

... you either love it, or hate it.

I happen to be in the 'love it' camp.  Last summer, I had a ton of it in the garden.  It over-winters here, which means fresh cilantro for most of the year.  Unfortunately, it doesn't like the heat, so come the beginning of June, all of my plants had bolted... just in time for tomato (and salsa-making) season.  BOO-HISS.

This year, I am determined to have cilantro for salsa!  Last fall, I planted a slow-bolt variety that is more heat resistant.  A few weeks ago, I planted sunflowers around the patch, in hopes of providing some shade to convince them not to bolt as fast.

Now that the warmer weather has arrived, the cilantro has started to take off.  I knew I had to do something soon, because in a few weeks from now I'll be battling the Black Swallowtail caterpillars (cilantro is a member of the carrot family, so the butterflies lay their eggs on the leaves, and the caterpillars can completely decimate the plants).  Unfortunately, I didn't know WHAT to do... common wisdom says you can't really preserve cilantro because it doesn't dry OR freeze well.

Then, I saw THIS TIMELY POST on Pinterest and decided I had absolutely nothing to lose.  So this morning, I cut back all the plants and tried to remove as much of the stems as possible.

I added a couple of gluggs of olive oil and stirred until the leaves were coated (see how shiny they are!)

Then, I put them all into a freezer bag and crossed my fingers.  Salsa or bust!

Sunday, April 21, 2013

Womens Wellness Weekend

I just got back from a wonderful time at the Virginia State Parks' Womens' Wellness Weekend held at First Landing in Virginia Beach.  This was the second one I attended and it did not disappoint.

We departed Friday morning on an excursion to Chippokes Plantation State Park.
We were greeted by a wonderful docent who was full of information about the property.
My favorite, of course, was the summer kitchen.
I felt right at home.


We had lunch at the Surrey House Restaurant, where I enjoyed a BBQ pork sandwich with some amazing onion rings.  I also tried the peanut soup, since we were in peanut country.  It was underwhelming but now I can say I've had it.

After a nice walk on the beach, it was time for dinner, complete with a Sangria Bar.  It was delicious!
I had planned to 'camp' in the back of my van like I did last year, but due to severe weather warnings, we were able to get an empty cabin, which felt like the Hilton!  There was a kitchenette, a warm shower, and real beds!  Needless to say, I slept like a log.

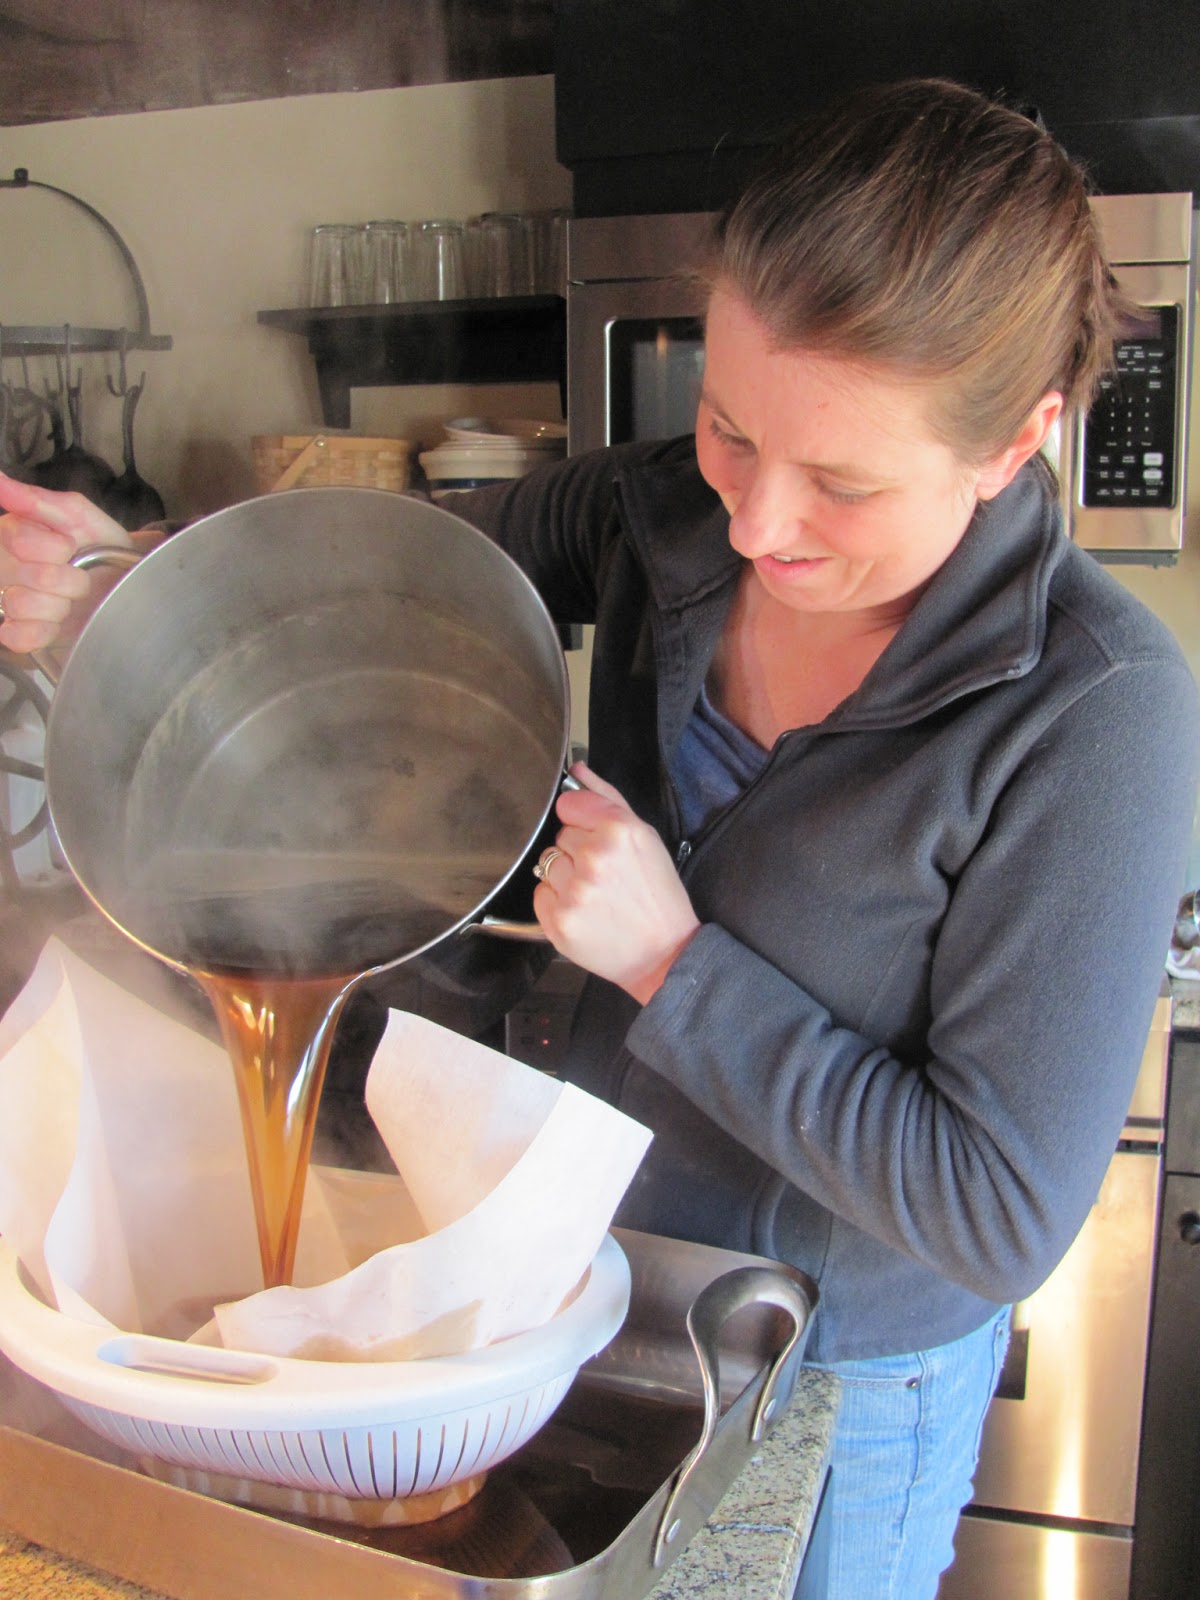
On Saturday morning, I taught a Make and Take Herbals class, and I was so busy I never got to take any pictures.  But it was a fun time making Calendula/Lemon Balm Salve and trying iced and hot teas made with different herbs.

As expected, lunch was as amazing as dinner!
The chef did a salad dressing demo and gave us a recipe for a Copy Cat Olive Dressing.  I can't wait to try it.
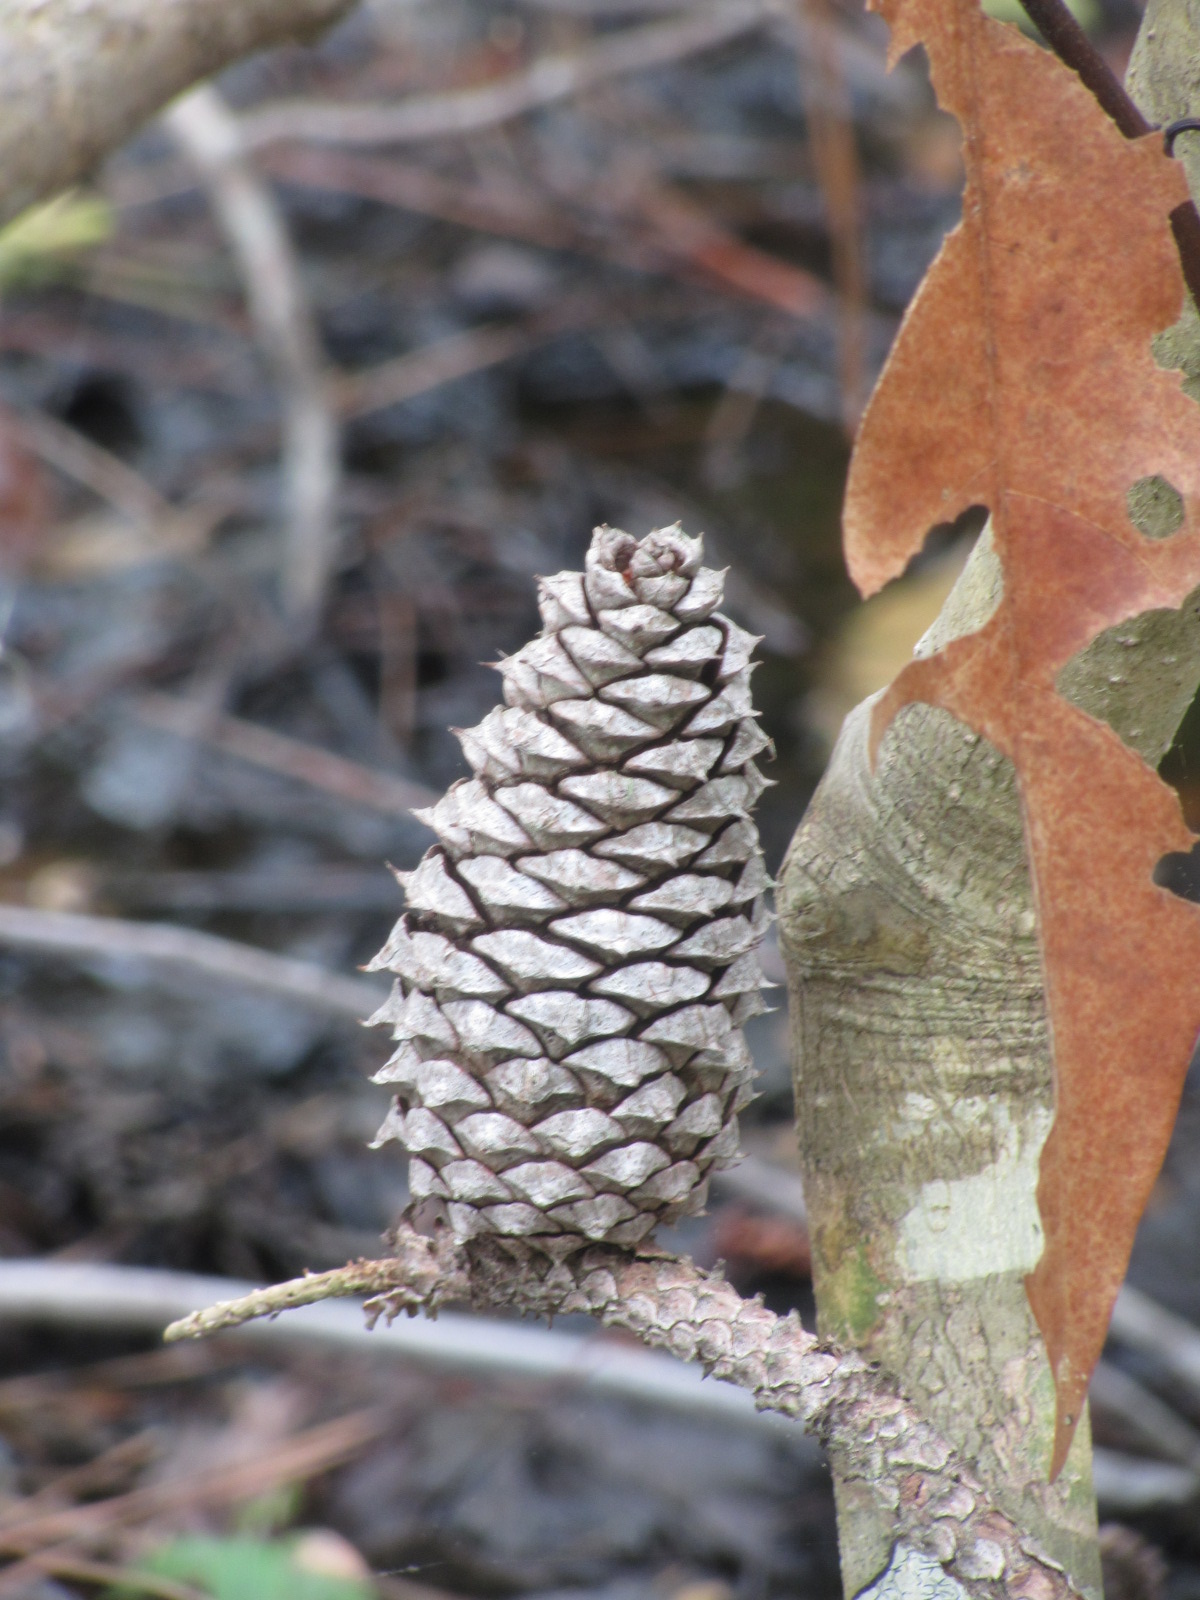
After lunch, I went on a Wetlands Photography Walk.  I got a quick lesson on how and when to change the shutter speed and aperture, and it was so great to be able to photograph the beauty around us.  This was an amazing tree that grew along the ground and then made a 90 degree turn to grow upright again!
Our instructor was a hoot!  He was out of York State Park up near Williamsburg and leads similar walks there.  I hope I can attend one!
 He dubbed me the "Angel of Aperture" because once I got the hang of it, I was giddy with excitement!

The trail we were on was called "Bald Cypress", and the Spanish Moss on the trees was just haunting.

We also got pointers on how to draw the eye into the photos.
 And we saw some pretty cool fungus, too!
The last class of the day was a "Lotions and Potions" class with Vickie Shufer, who is a local foraging expert.  I have gone on a couple walks with her at New Earth Farm and always learned a lot.  She's also just a delightful person.
We made a lotion with Mountain Mint, which is an antiseptic... and I got to smell a different kind of lotion she made with lemon verbena.  I can't wait to make my own!
 We learned about several herbs I'd never even heard of before!
 And we got to try some 'energy balls' made with a plant that has 4x the caffeine as coffee!
 We also got to make up some tea mixes using dried herbs.
Afterwards, we had another great meal and got to watch the sunset.  I got to practice my new photography skills.
 
Sunday morning, I took another class where I finally learned how to make the para cord bracelets that are so trendy right now.
I had a few minutes before Brunch to snap some more pictures.


I forgot to snap a picture of the amazing spinach and mushroom crepes with brunch, but they knocked my socks off.  I may have to attempt to replicate them soon!

I thoroughly enjoyed myself and almost feel ready to face my 40th birthday.

Almost.


Monday, April 15, 2013

Broccoli, the Super Super Food

Most of us know that broccoli is considered a superfood.  Here in Hampton Roads, it is a spring and fall crop... although I won't grow it in the spring anymore because there are so many cabbage moth butterflies/worms to contend with.  However, I do enjoy growing it in the fall because I have more room in the garden and it gives us fresh veggies just when the rest of the garden has pooped out.

Once I harvest the main head of broccoli, I leave the plant in the ground and let it produce side shoots.  These are great for salads and soups, and the occasional side dish in the middle of winter.


After harvesting the side shoots, I continue to leave the plant in the ground.  It will then produce tiny little yellow flowers which the bees absolutely love, probably because it's so late in winter/early in spring that there isn't much else in bloom.  

I love this picture because you can see how loaded down this little gal is... that yellow 'tumor' is actually pollen!
Eventually, I need to yank the plants up because they are taking up valuable garden space.  Yesterday, I did just that.  Normally, I'd throw them in the compost pile but I decided to give them to the chickens and see what they thought.  I kid you not, in a matter of just minutes, they had stripped the flowers clean:
So there you have it.  For us, for the bees, for the chickens... broccoli truly is a super food!

Wednesday, April 10, 2013

Bees, Bees, Bees...

In addition to serving as an on-line garden journal, this blog is also a beekeeping journal of sorts.  It's good to keep records because the older I get, the less I remember.  And when it comes to beekeeping, there's lots to remember.

We last got into our hives a month ago, and all was well.  We were just starting to see drone cells, and were very lucky to have both hives survive the winter.  40-60% of hives were lost here in VA, and no one knows why.

A few days ago, my neighbor and co-beekeeper Lisa saw a ton of activity outside one of the hives.  I suspected a swarm, as that queens' wings weren't clipped, but didn't know what we'd find.  We were also going to check and see if they were storing honey and whether or not we needed to add another box of frames.

The first hive we got into had drawn out some wax in the honey super, but there wasn't much stored.  We saw eggs, we saw lots of drone cells, and we even saw the queen (she is marked).  The hive wasn't teeming but with all the eggs and larvae, it's just a matter of time before numbers quickly build.  We did take some frames of brood/larvae/eggs and one frame of honey and put it in the Nuc box to make a new hive.

We also saw some bees being 'born'... crawling out of their capped cells.  Can you find them in the abpve picture?

The second hive was going gangbusters.  We had to remove some wonky wax, but they had pretty much filled the first honey super so we added another.  We also saw CAPPED swarm cells and not one egg, which means only one thing... the old queen had flown the coop as suspected.  We left a couple of the cells in the hive so that one of the new queens would hatch and take over.  We also took a couple of them and put them in the Nuc box, so that those bees would also have a queen rather than having to rear their own.  Once they are capped, it only takes a few days for the new queens to hatch.  In spite of the fact that they didn't currently have a queen, the bees were very docile.  I have high hopes for this Nuc, as the other queen (who was only a year old, I don't know why she swarmed) was a good layer and her girls have good, patient personalities.  The queens were raised by A LOT of bees, which bodes well.

In about three weeks, we will check back into all of the hives.  Why 3 weeks?  That will give the new queens time to hatch.  Six days after they hatch, they will go on their mating flights (and we'll hope they make it back safely.)  It normally takes about 20 days to go from a capped queen cell to laying eggs.  What if we get back in and there are no eggs?  All is not lost.  We will simply take frames of eggs from our queen-right hive and put them in the Nuc or the second hive (or both if Murphy's law prevails) and let the bees raise their own queen from those eggs.  This is why it's better to start with two hives than only one.  You can rob Peter to pay Paul.


Saturday, April 6, 2013

Maple Syrup!

We just returned from a week back 'home' over Spring Break.  We were lucky enough to catch the tail end of maple-syrup season, and I brought several gallons of it back for friends who wanted their own taste of New England.

My brother and his wife, Cheri, live in this beautiful home on 80+acres in Southern NH where they run the Blue Y Farm.  The maple trees on the property have been tapped for years... the house is only a few years younger than this country! 
There is a lot of work involved in making maple syrup, so I thought I'd do a post about it so those here in VA can see what it entails.

First, the trees are 'tapped'.  This involves drilling a small hole and inserting a pipe with a small notch on it to hold the buckets.  When nights are cold and days are warm, the sap runs and fills the buckets.
Once, and sometimes twice, a day, the buckets are emptied into a large holding tank. 
The tank is then parked near the sugar shack, where the sap is slowly drained into the evaporator.
(You can see the roof of the shack in the far left of the photo.)  The sap is warmed as it flows through the copper tubing around the 'chimney' of the evaporator.
It is heated until it gets close to the boiling point.  You can see the steam evaporating the water.
Big Strong Brother then brings a batch to the kitchen, where Cheri finishes the process.
She brings the sap to a boil (which takes forever!) and then filters it to remove any impurities.
It is then bottled up into containers with covers that will seal.
It takes 40 gallons of sap to make one gallon of syrup, not to mention many (wo)man-hours to make it happen!!!